Printable Craft Supply Organization Checklist (Download)
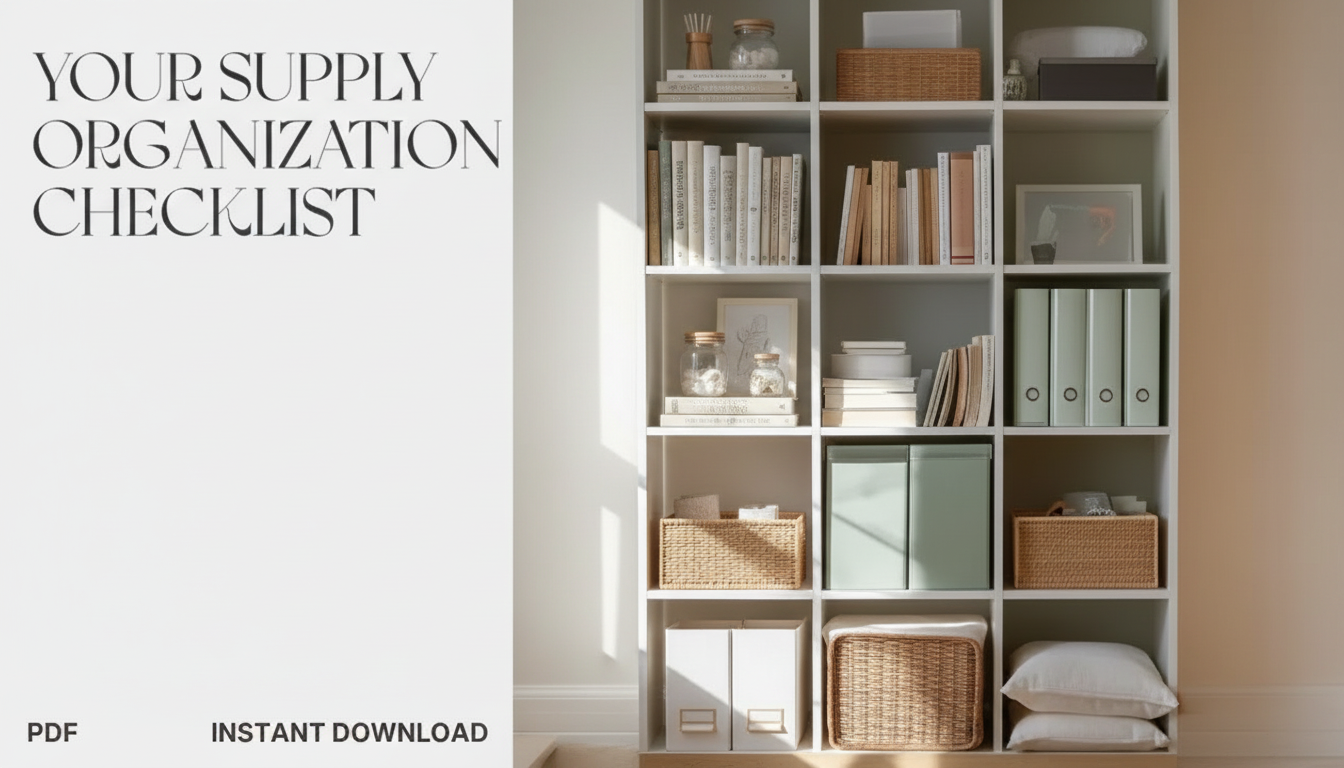
Your Supply Organization Checklist (Printable Digital Download) for Craft & Hobby Spaces
A clear, repeatable system makes craft time feel easier: fewer lost tools, less duplicate buying, and faster setup and cleanup. This printable checklist is designed to guide a full reset of craft and hobby supplies—from sorting and labeling to storage zones and maintenance—so any space (desk, closet, cart, or full craft room) stays functional long-term. For more guidance, see Craft Room Organization Tips | Abbi Kirsten Collections.
What This Checklist Helps Accomplish
- Create a simple, step-by-step plan for organizing supplies without getting overwhelmed.
- Identify what to keep, toss, donate, or relocate based on actual use and condition.
- Build storage “homes” for tools and materials so everything returns to the same place.
- Reduce time spent searching, rebuying, and cleaning up after each project.
- Set up an easy maintenance routine that prevents clutter from rebuilding.
Who It’s For (And What It Works With)
- Crafters with limited space: small desks, rolling carts, shelves, bins, and closet setups.
- Multi-craft hobbyists juggling paper crafts, sewing, painting, Cricut-style projects, resin, or jewelry making.
- Parents, teachers, and club leaders managing shared supplies and needing quick inventory checks.
- Makers who want a consistent process for seasonal refreshes or pre-holiday project sprints.
Before You Start: Quick Setup
- Choose a realistic time block: 30–60 minutes for a mini reset, 2–4 hours for a full overhaul.
- Gather basics: trash bag, donation box, labels, marker, and a small “relocate” bin for items that belong elsewhere.
- Clear a sorting surface: table, floor space, or a bed covered with a sheet for easy cleanup.
- Decide a single “staging zone” where everything gets sorted before going into final storage.
If motivation is the hard part, borrow a proven organizing mindset from professional organizers and established methods. The National Association of Productivity & Organizing Professionals (NAPO) is a helpful starting point for practical, real-life organizing guidance, and the KonMari Method can be useful for decision-making when you feel stuck. For further reading, see Take Stock of All Your Craft Supplies | A Free Printable.
Checklist Walkthrough: Sort, Group, and Simplify
- Pull supplies out by category (not by location): adhesives together, cutting tools together, paper together, paints together.
- Do a fast condition check: dried glue, dead markers, dull blades, tangled cords, broken tools.
- Use a simple keep rule: keep what is usable and realistically used; quarantine “maybe” items in a dated bin for later review.
- Minimize duplicates by choosing a primary version (favorite scissors, best ruler, most-used paint palette) and storing backups separately.
A small twist that makes this faster: when you find an “I can’t decide” item, don’t stop the whole reset. Put it in the dated “maybe” bin and keep moving. Most craft clutter isn’t from too much stuff—it’s from too many decisions happening at once.
Create “Homes” With Storage Zones
- Define zones by workflow: prep (cutting/marking), making (tools/materials), finishing (sealants/embellishments), and cleanup (wipes/trash/replacements).
- Store by frequency: daily-use items within arm’s reach; occasional items higher up or farther back.
- Use containment that matches the item: vertical storage for paper, shallow drawers for small tools, clear bins for bulky materials, pouches for cords and small sets.
- Label the container, not the item, so restocking stays consistent.
Quick Storage Map for Common Craft Supplies
| Supply Type | Best Container | Placement Tip | Label Example |
|---|---|---|---|
| Paper & cardstock | Vertical file box or magazine holders | Store upright to prevent warping and make colors visible | Paper: 8.5×11 / Scrap / Specialty |
| Vinyl sheets & rolls | Tall bin or hanging organizer | Keep by color family; place tools nearby | Vinyl: Permanent / HTV / Transfer |
| Markers, pens, brushes | Cup caddy or drawer insert | Tip-down only if safe; otherwise horizontal | Drawing Tools / Paint Brushes |
| Adhesives & tapes | Small bin with dividers | Group by type (liquid, tape, hot glue) | Adhesives: Tape / Glue / Dots |
| Small embellishments | Compartment box | Sort by theme or color; avoid over-micro-sorting | Beads / Buttons / Findings |
| Fabric & notions | Clear bins + zip pouches | Fold uniformly; keep notions in a grab pouch | Fabric / Thread / Needles |
Inventory Without the Overwhelm
- Track only what matters: high-cost items, frequently repurchased items, and anything that expires or dries out.
- Use simple counts: “Full / Half / Low” can be faster than exact numbers for many supplies.
- Keep a short “shopping guardrail” list: items not to buy unless a project requires them.
- Add a small note area for project ideas tied to supplies already owned.
Print, Use, and Reuse: Practical Ways to Work With the Download
Common Sticking Points (And Fixes That Work)
Digital Download Details
Recommended Downloads (In Stock)
- Your Supply Organization Checklist (digital download) — a printable, repeatable system for sorting, zoning, labeling, and maintaining craft supplies.
- Avoiding Etsy Costly Pitfalls – the complete seller’s guide for beginners — helpful for makers who sell their crafts and want fewer costly missteps while growing.
FAQ
How many pages should be printed to organize a small craft area?
Print the core checklist pages you’ll actually use for the space (for example, a single drawer, cart, or shelf reset) and save the full set for a later deep overhaul. One clean copy is usually enough to guide decisions and labeling without creating extra paper clutter.
What’s the fastest way to organize craft supplies when time is limited?
Do a 30-minute triage: trash/donate/keep first, then group items into broad categories and place them into temporary bins. Label the bins so you can start using the system immediately, and refine container choices later when you have more time.
How often should craft supplies be reorganized?
A quick weekly reset (about 10 minutes) prevents pileups, and a monthly mini-audit keeps quantities and categories realistic. If you rotate multiple crafts or your stash grows quickly, add a seasonal deep clean to re-run the full checklist steps.









Leave a comment